

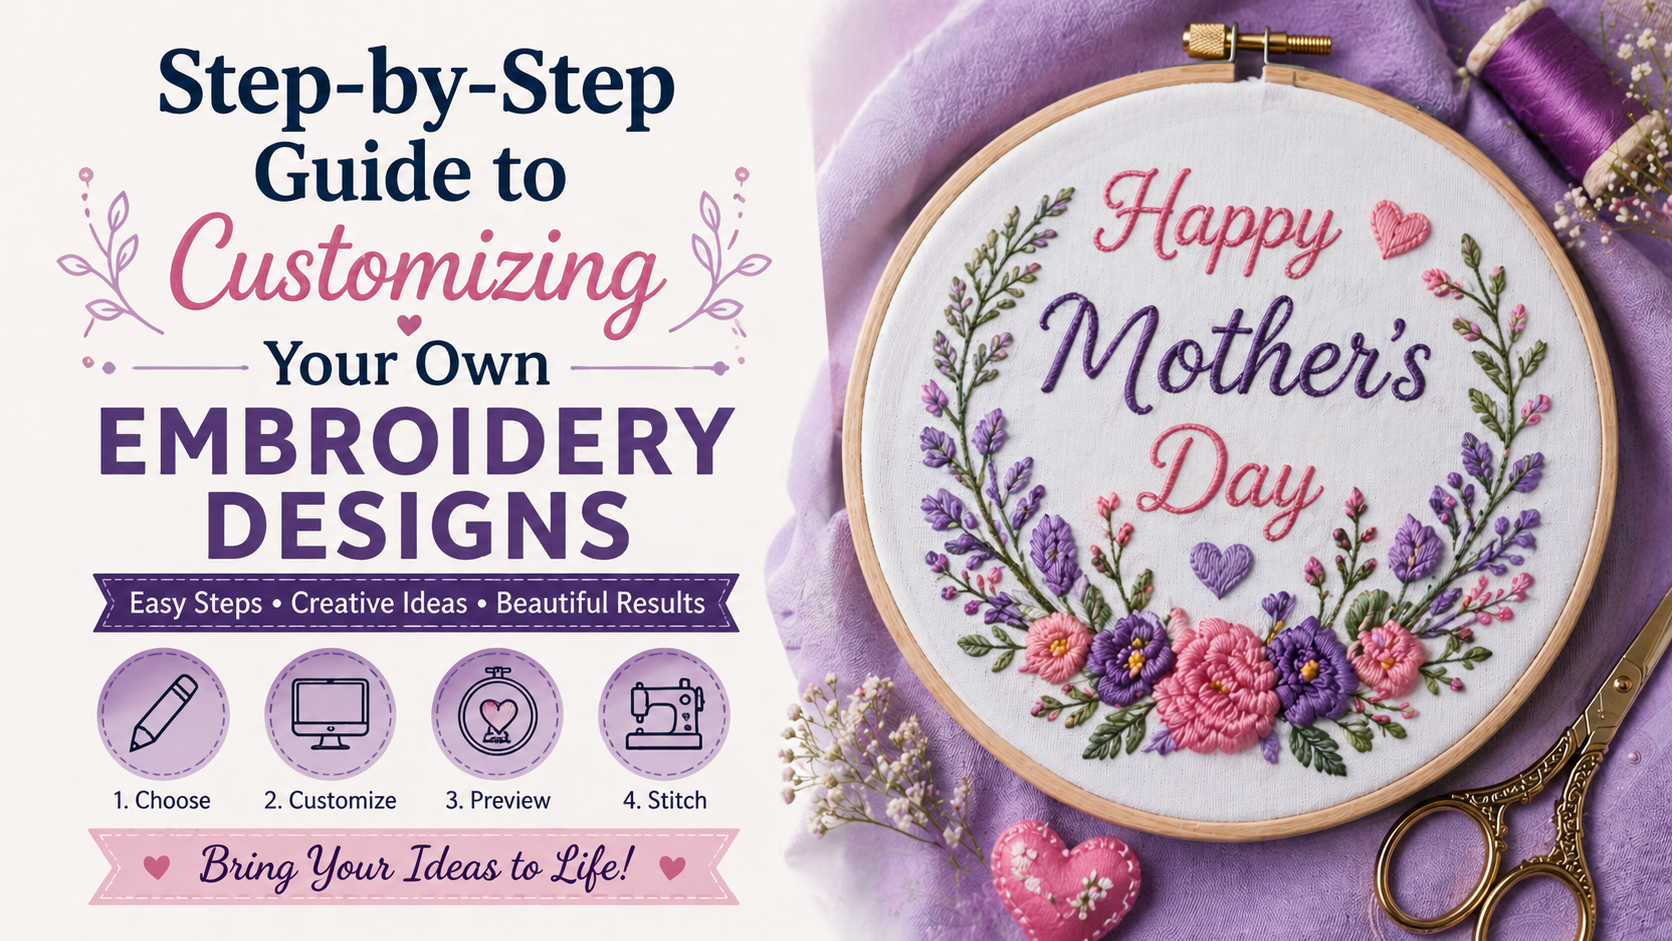
If you want to create embroidery designs machine projects that feel unique and personal, learning how to customize your own patterns is the best skill to have. Customizing turns a simple design into something special you can wear, gift, or sell. Whether you are new to stitching or already enjoy hobby embroidery, this step‑by‑step guide will help you.
You may notice that beginners often start by copying others’ work. That’s fine at first. But once you learn to customize, your projects become more meaningful and fun.
Why Customize Your Embroidery Designs?
Customization matters because it lets you make patterns that fit your style or message. Maybe you want a name on a shirt or a small picture on a tote bag. Custom designs help you match the size, thread colors, and shapes to your exact project idea. When you choose the right path, even embroidery designs for beginners can turn into stunning art.
Step 1: Choose the Right Base Design
The first step is picking a base design. If you are learning, start with simple embroidery designs. These have clean lines and fewer details, making them easier to edit.
When you browse designs think about:
-
Where the design will go
-
How big it should be
-
Whether it fits the theme you want
You may find inspiration in digital machine embroidery designs that are ready to edit.
Step 2: Decide What to Change
Before you start editing, picture your final piece. Ask yourself: What do I want to add or remove? Does the design need a name, date, or different colors?
This step helps you gather materials and plan edits. For example, adding a tiny heart or star to easy embroidery designs can give them fresh meaning.
Step 3: Pick the Right Software
To customize designs, you need the right software. Many programs let you open digitized embroidery designs and edit them with a few clicks. These tools show guides, stitch paths, and thread colors so you can see changes before stitching begins.
Choose software that works with your machine format. Most machines accept common types, but it’s smart to check before you spend time editing.
Step 4: Resize and Reposition Elements
Once your file is open, it’s time to adjust the size and layout. Here’s how you might think about it:
Resize the design if it’s too small or too big for your item. Move parts of the design to make them blend better.
Let’s look at an example. If your base had a flower in the center, you might want to move it to the corner. These small changes matter because they shape how your finished item looks.
Step 5: Add Text or New Details
Adding personalized text like a name or message makes your design truly yours. Most editing tools let you pick fonts that match your style. Choose thread colors that stand out on your fabric.
You can also add small shapes or symbols. This is fun if you are customizing embroidery designs for christmas or special events.
Step 6: Check Stitch Paths and Density
After changes, always review your stitch paths. This step helps you avoid tight spaces or crowded areas. If the design has too many stitches too close together, your machine may struggle.
You may notice that designs with the right spacing work smoother and look cleaner once stitched. Adjusting stitch paths improves your final look.
Step 7: Test on Sample Fabric
Before you stitch on your final item, test your custom design on scrap fabric. This step is crucial because it shows how your work looks in real life.
You can watch for:
-
Color balance
-
Stitch quality
-
Whether the design needs any tweaks
Testing is a part of smart embroidery creation. Even free machine embroidery designs benefit from this step if you customize them.
Step 8: Prepare Your Final Fabric and Thread
Now you are ready for the real thing. Hoop your final fabric with stabilizer. Choose thread colors that match your edits. Then upload the final file to your embroidery machine.
Take your time with setup. Good tension and hoop placement help the design sew out beautifully.
Step 9: Stitch and Enjoy
Press start and let your machine bring your design to life. Watch the layers of thread fill in your vision. You will feel proud as your customized design appears stitch by stitch. This moment is why so many stitchers love personalizing their work.
Tips to Make Customizing Easier
If you are just starting, try these ideas:
-
Begin with embroidery designs for beginners
-
Stick with simple embroidery designs first
-
Add small text or icons before large edits
These tiny steps help you stay confident as you learn.
Final Thoughts
Customizing your embroidery designs is like giving them a story. You take a pattern and make it yours. I learned this myself after many trial projects and joyful stitching sessions. One source that encouraged my growth and made customization feel possible was Zdigitizing, where I found ideas that helped me get creative step by step. As you edit designs and see your vision come alive, you will enjoy every jump in skill and confidence.
Frequently Asked Questions
What software do I need to customize embroidery designs?
Many embroidery editing programs exist, but pick one that is easy and matches your machine format.
Can I customize free embroidery designs?
Yes. Most free machine embroidery designs can be edited for personal use.
Is it hard to resize embroidery designs?
Not if you follow stitch path guides and test on sample fabric first.
Should I always test before final stitching?
Yes. Testing on scrap fabric saves time and prevents mistakes.
Can I add text to any embroidery design?
Most editing tools let you add text easily. Just make sure it fits the design space.